Essential Physical Training for the Wilderness
We’re asked many physical training (PT) questions which are all over the map. Often these questions start out with statement such as: “My bugout bag is too heavy…” or “How do I lighten this packing list for...” or “I know I need to carry this during navigation, but…” These questions aren’t really about the gear, but rather the individual’s ability to carry that gear. The question at its core is really: “Am I an asset or liability to myself and others?” We’ve all heard that survival is comprised of knowledge, skills and resources. While this may or may not be true in its simplest form, most versions of this mantra leave out a critical component: physical fitness. How can we affect our own survival if we can’t carry our own basic resources? I'm going to attempt to address most of those questions here with a simple solution that almost anyone can do in order to successfully complete any course within the GB² system: rucking.
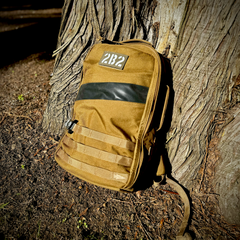
What the heck is rucking?
Rucking is simply the act of walking with a weighted backpack (ruck). How does this differ from hiking or backpacking? The intent of rucking is to improve your speed, weight carrying capacity, endurance or all of those. It’s not simply for pleasure -but certainly can be- as I’ll get to shortly. How to start and progress are the difficult questions for many. So, here are the bare basics from various reputable fitness sources, including GoRuck, Runner’s World and others, not only my opinion and experience. That said, I will include some opinions and tricks that I’ve found to make your experience both more fun and learning-oriented and less of a dreaded workout.
Breaking in Boots to Prevent Blisters
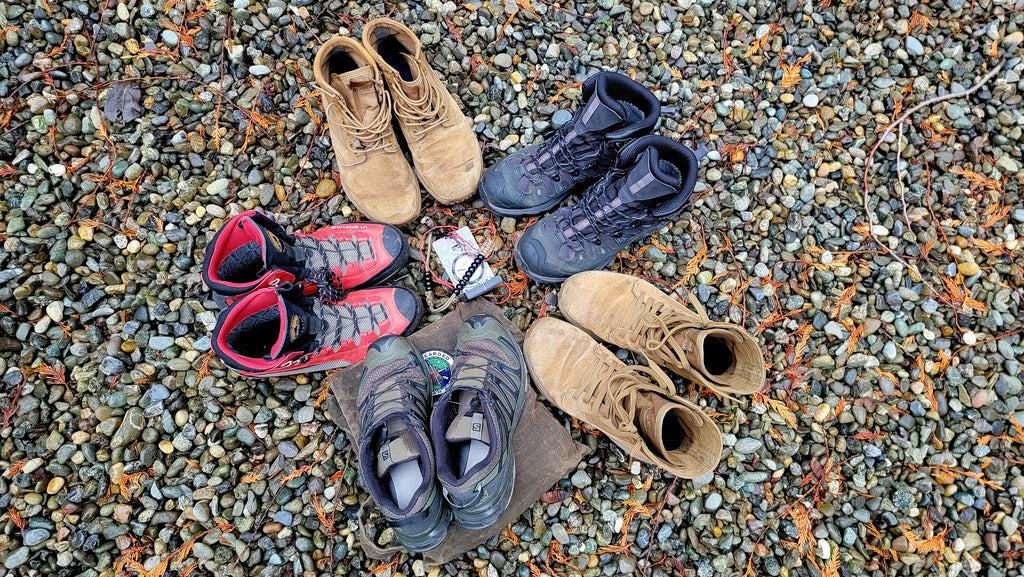
Before we get started, I should mention that quality footwear and socks are important. A good fit is paramount. The brand, the fancy features or how well they work for your buddy are unimportant. If you have ill-fitting shoes or boots, you will experience issues. That said, if you have sensitive feet or have been sedentary for a while, rucking will also create callouses and harden your feet and joints. That’s part of the growth process. Mild soreness is ok and expected; pain is not. Remember to break-in new boots, especially leather models. This can be done while rucking, but it’s generally recommended to complete several short walks over the period of a couple of weeks to break in footwear properly prior to use for any purpose. We will have a future blog focusing on this topic.
The following program is based at a beginner level. However, it is widely recommended that even those with moderate fitness through seasoned athletes alike start here. For anyone just starting out, feel rucking may be too much or maybe don’t have a ruck or backpack yet, I’d strongly recommend the widely accepted walking to running programs Couch to 5K or Couch to 10k. These are freely available via phone apps or online and can be completed in 9 to 14 weeks. They also can be combined with a weekly rucking routine for more experienced people, but that’s out of our scope here. You should consult your doctor prior to starting any fitness program if you’ve been sedentary for a while or have any concerns. On to the rucking!
How to Start Rucking for Wilderness Fitness
- Weight: start with about 10% of your body weight. For example, a 190-pound person would start with 19 to 20 pounds, including their ruck weight. Don't begin with more even if you routinely carry or think you can handle more. It’s ok to start with less weight if you think that’s best for you. Find out how much your empty ruck weighs and be sure to include that and any accessories like a water bottle that you may bring along.
- Distance: should be one you're comfortable doing unweighted while carrying on a conversation and not fatiguing (need no breaks to complete).
- Speed: walking pace without breaks. This is not jogging, running or a race.
- Terrain: for the first 3-4 weeks keep it smooth, even and level. Think local trails, sidewalks, high school tracks or similarly groomed surfaces.
- Frequency: 3 times/week. Add rest days between rucks if soreness develops. If you don’t initially overdo weight/distance/speed, you shouldn’t have much soreness. The idea here is to improve gradually, not be punished into it.
The Progression: Here's the magic (it's not magical at all)
After week 1 and for every week thereafter, add about 10% to weight, distance and speed. Do not exceed more than a 5-pound increase per week and don't exceed 50 pounds max. If any of those areas are causing you trouble do not increase them. Keep that category the same and try increasing it the following week. There’s no right or wrong here. Increase them all or increase only one. That said, most people should have no trouble increasing all three categories somewhere between weeks 3 and 6, depending on their base fitness level.
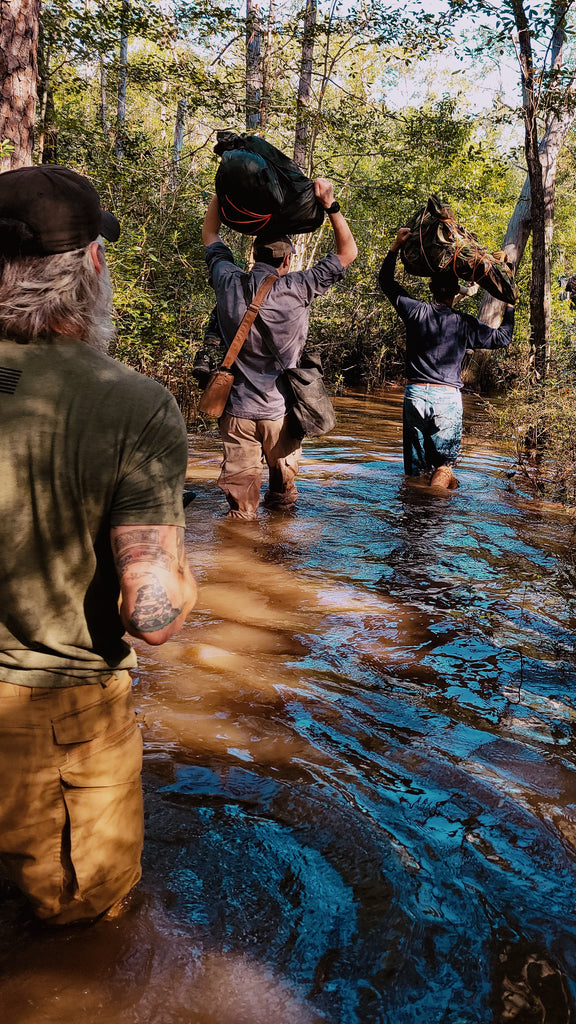
Begin to vary terrain at week 4 or 5. Start with gentle hills and then add difficulty as that terrain becomes easier for you. Hills, uneven trails, snow and off-trail (bushwhacking) all add their own challenges and difficulty. They also increase supporting muscle and connective tissue strength that you wouldn't use otherwise and place a greater cardio load on your body. This is a huge benefit during land navigation where your attention is focused on other things such as a compass, GPS or blindly crossing barbed-wire fences at night. Rolled ankles happen but adding uneven terrain into the mix will reduce those rolls significantly and increase your balance and overall stability. Snowshoeing and rucking with traction spikes are also great options to add into the mix to keep you active (and safe) in the winter months.
A general fitness goal to shoot for is 5k (3.1 miles) in under 50 minutes (or less) at 35-45 pounds. For the Master Navigation Course and general backpacking/rucking fitness, you should be shooting for a goal of about 10k (6.2 miles) at 50 pounds regularly. Time isn't as important for most of us but is for ITP students and those wishing to place in the top teams during the Master Navigator Course. The Army PT standard pace is a 15-minute mile pace over 6 miles with 50 pounds (minimum) for reference. This would be a solid goal to shoot towards. That said, it's always best to start out conservatively (slowly). Most people will feel that they can increase pace around the 6- to 8-week mark while carrying heavier loads, sooner if you already have solid base fitness. Keep in mind that slow progress is both better and faster than recovering from overuse pain or injury.

Keep PT Interesting!
Rucking can be done anywhere with minimal gear or preparation. That alone helps keep me motivated compared to a treadmill or stationary bike. Pause along your route and use your ruck for squats, get-ups or other calisthenics. Add in some weighted push-ups or burpees. Too easy? Carry a light sandbag to challenge your core but remember to keep your overall weight 50 pounds or less. Adding in some land nav/compass practice or resource identification can also be fun, distracts from the physical work and reinforces critical skills. Many of us also ruck while listening to audio books which is another productive way to pass the time.
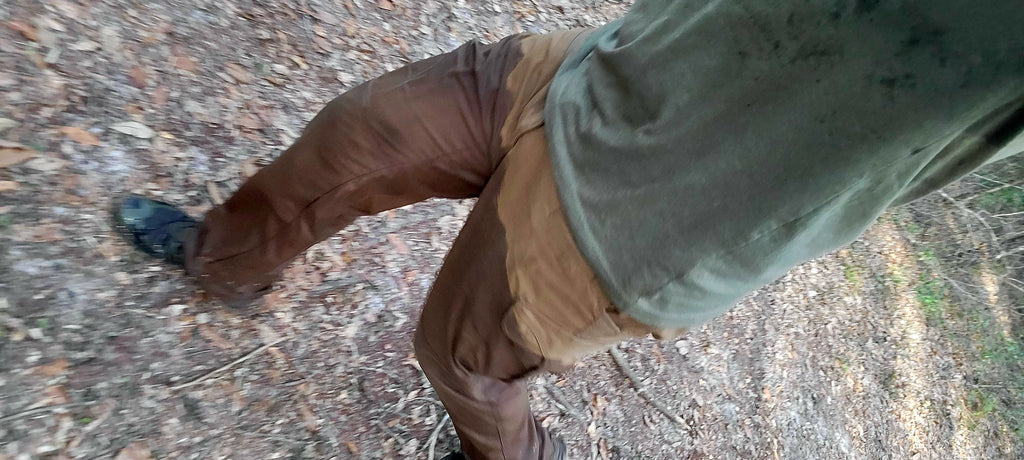
Please note, while many experienced people do carry heavier loads, exceeding 50 pounds can harm joints and places dangerous stresses on your lower back if not carried with proper posture and technique. Done right, the pros tend to agree that rucking has less impact on joints than either jogging or running and we're doing it anyway, right? I stumbled across several sources recommending rucking to runners to increase their joint strength for better run times and injury reduction. Most importantly though, get creative and have fun while increasing both your fitness and self-reliance!
"That ruck ‘aint gonna carry itself." -GB2
For similar topics check out all of our downloadable content hereI hope to see you around the campfire soon!
Chad “2B2”

