A Stealth Fire is your friend
Fire is arguably one of the most effective signals available. It has visual characteristics like light, color, and contrast against the background, making it visible day or night. It also has an olfactory aspect with the smoke that can be smelled for long distances. In addition, it leaves traces behind that can confirm your presence in that area, at least for a short while. The fact is that fire does an excellent job at drawing attention. Those same characteristics make it a terrible idea in a non-permissive environment if your goal is not to be seen or found by others.
Most of my system is developed around never having to start a fire. I rely heavily on proper clothing choices and shelter to maintain my body’s Core Temperature; I carry a purifier to lessen the need for boiling water to keep hydrated; my emergency rations are quick, on-the-go rations that don’t require cooking. However, there could be situations where starting a fire may be necessary, even for a short period. Luckily, there are ways to make this more stealthy by reducing light, smoke, and trace. This is a situation in which the Dakota Fire Pit excels.
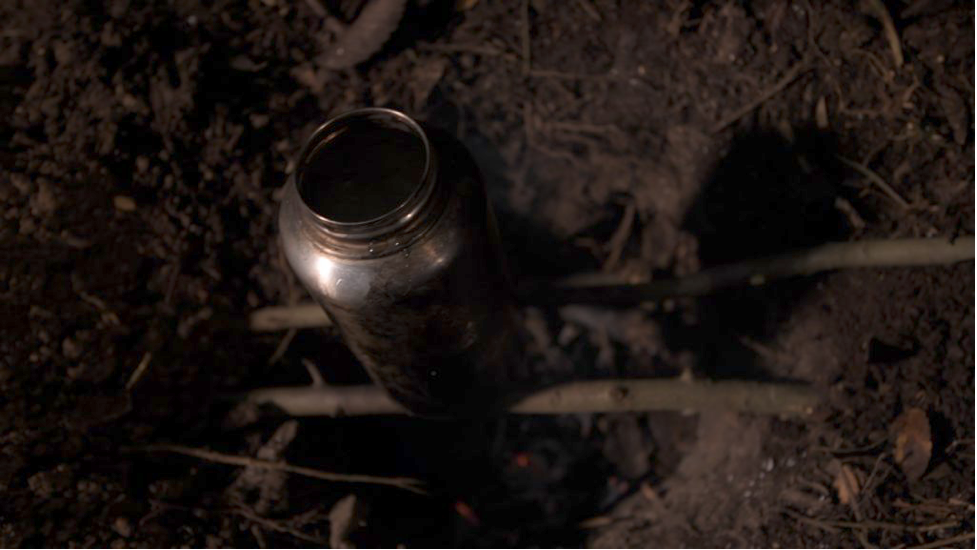
The Dakota Fire Pit is so-named because it was used by the Dakota people while hunting bison on the prairie. The below-ground design of this fire hole protected the fire from the high winds and reduced the risk of starting a prairie fire. It was also highly efficient, requiring less fuel in an area with little fuel to choose from. While there was very little wood, Bison “chips” were plentiful and made for excellent fuel.
The efficiency is another very distinct advantage over other fire methods in this situation. Smaller amounts of fuel require less work (and noise) to gather, leaving less displacement in a given area. Simply put, displacement is a disturbance in a place where something has been moved or altered from its original position in nature. It is better (and quieter) to quickly gather small sticks that are lying around than to break out saws or hatchets and leave fresh cuts and scars all over.
If things go according to plan, you may not need to start a fire at all. Murphy’s Law suggests that things may not (probably won’t) go as planned, so it is essential to prepare for and know how to do this now before you need it. Temperatures drop, purifiers clog and break, and fresh road kill provides an opportunity for some much-needed calories but needs to be cooked first…but you also have to consider your security and safety.
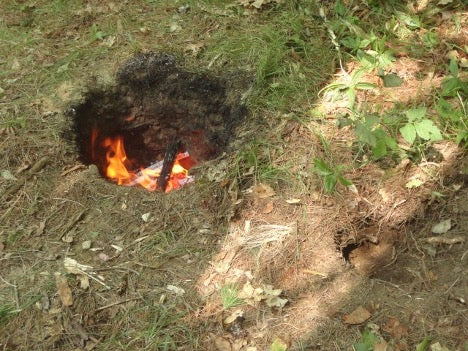
How to construct the Dakota Fire Pit
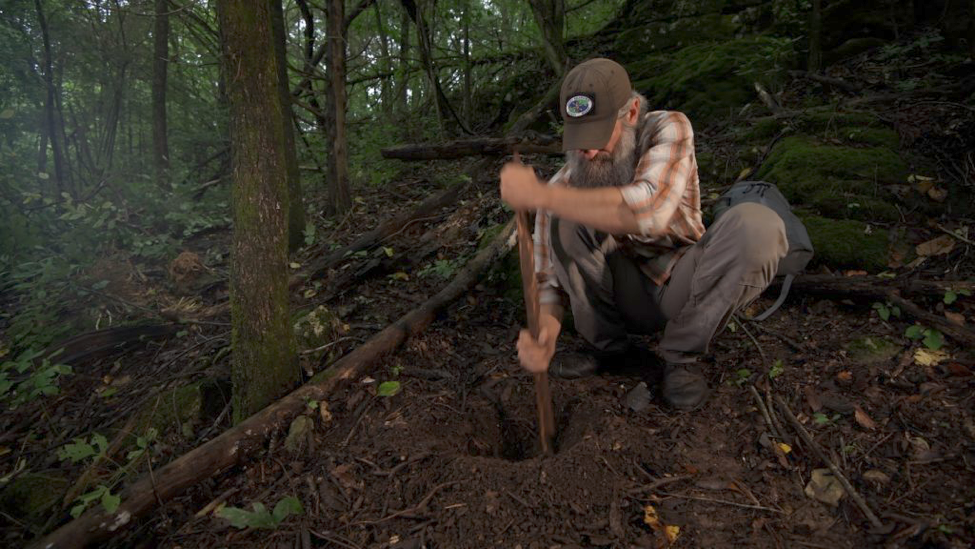
Start by carefully removing the top layer of soil with all the vegetation intact. A small shovel is handy for this, but it can also be done with a simple digging stick. Place this top layer on something like a poncho, so it doesn’t get destroyed. This will aid in covering your tracks afterward.
Dig the main hole about the size of a one-gallon paint can. Place the dirt you remove on the poncho so that you don’t create much displacement and can get most of it back into the hole when you are done.
On the upwind side, about 6-8 inches away from the main hole, dig a second smaller hole at an angle towards the bottom of the main hole until it connects. This hole should be roughly half the diameter of the main hole. This will act as the vent hole that will provide air to your below-ground fire, which will be in the main hole.
You may find it easiest to use a sharp digging stick to create the vent hole. Push the stick in at the desired angle and work it around to make the vent.
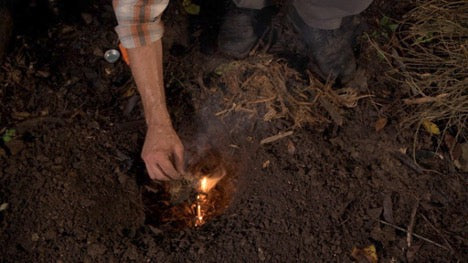
Start a small fire in the main hole. This heat will aid in pulling air through the vent hole to feed the central fire. Keep the fire low and only add small handfuls of sticks at a time so that it doesn't flare up and out of the main hole. When drafting correctly, it will reduce the amount of smoke and provides a considerable amount of heat, similar to a “rocket stove.”
Place branches above the main hole to further reduce the amount of visible smoke. This will dissipate the smoke and make it less visible. These branches can also be used for cooking strips of meat or as a rack to dry clothes quickly.
Where to make your Dakota Fire Hole
Realistically, it would be best if you chose to make your Dakota fire pit close to the base of a tree. The trunk of the tree will hide some of the light, and the branches of the tree will dissipate the smoke. For training and practice, I strongly recommend you don’t do this. It can damage the tree and its root system, and certain roots in specific environments can smolder for years and travel underground, popping up as a forest fire miles and miles away. None of that is worth risking to practice a technique. Make good choices and care for Mother Earth when practicing potentially harmful methods.
Tactically speaking, I want to make this fire as quickly as possible, use it for what I need, and then out it out and cover the trace. Given a choice, I will also make it during daylight hours instead of night. The light from a fire at night will carry way farther than the light from the same fire during the day. Knowing that it will draw attention, I will make it away from my bed-down location. This is done by using what is called a “dog-leg.”
Stop short of your final destination for the day. Construct your fire pit, handle whatever you need with that fire, and then make sure it is out. Fill the holes back in with the dirt you set aside and cover it with the plug of grass or vegetation you took from it. Make it look as “Leave No Trace” as possible. Any extra dirt can be carried away and scattered elsewhere or dropped into a nearby stream to be carried off.
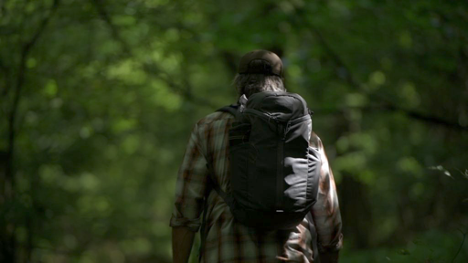
Continue on your original route to distance yourself from where you just had your fire. A good rule of thumb is at least 1-300m away. Next, do a 90-degree turn and walk another 100-300m on that “dog-leg.” Lastly, make another 90-degree turn to walk a reverse azimuth of your original route. Walk the same distance you walked past the fire pit location on your first leg. This will put you back in line and parallel to your fire pit location, but a safe distance away where you can observe your trail from your bed-down location.
If you expect that the fire may draw attention, this technique allows you to no longer be there when anyone comes to that site, the dog leg gave your route some basic counter-tracking turns, and your ability to now observe the location from a distance gives you time to react to whatever happens rather than be surprised by it.
In cold weather, without adequate clothing or shelter, you may have to keep a fire at your shelter location to maintain your body core temperature. This is not the best situation, but it may be necessary. It will still have the same risks, but you have little choice but to accept them and mitigate them as best you can. Your shelter can block much of the visible light if appropriately placed.
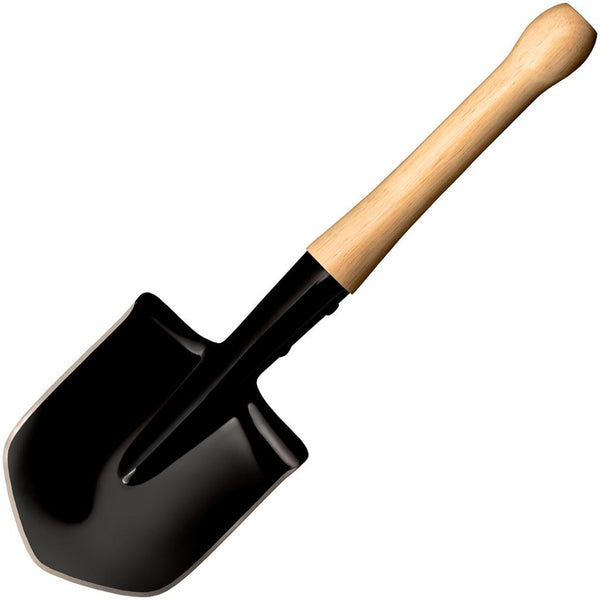
If your PACE Plan includes the use of caches and Dakota Fire Pits, and it probably should, it may be worth the weight and convenience to add a small shovel to your baseline kit. I have personally used and recommend the Cold Steel Special Forces shovel and consider it a solid choice. Aside from digging, it makes for a tremendous edged weapon and throws like a tomahawk. It is worth the weight, in my opinion. Students also use it during our Individual Preparedness Course and it has proven itself to be both durable and reliable despite hard use.
Check out my latest video to get more information on how to build the Dakota Fire Pit. This is an excerpt from my full-length film Green Beret's No Nonsense Bug Out. For related topics, check out all of my downloadable content here.
I hope to see you around our campfire soon!
-Joshua
